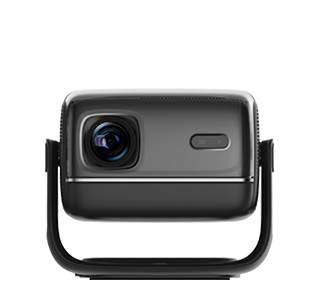
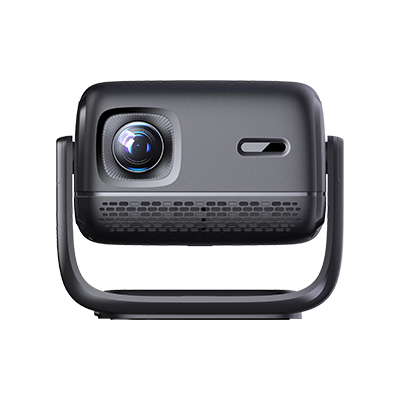
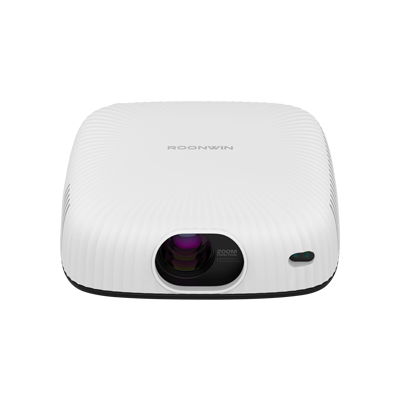
The projector lens is the gateway to delivering crisp, clear images, and regular cleaning is essential to prevent dust, smudges, and debris from degrading picture quality. Neglecting lens maintenance can lead to blurred edges, reduced brightness, and even permanent damage if abrasive particles scratch the lens surface. To ensure safe and effective cleaning, it is crucial to follow a step-by-step process using the right tools and techniques.
First, preparation is key. Before starting, turn off the projector and allow the lens to cool completely—this prevents heat-related damage and ensures that any dust on the surface is not melted or pressed into the lens. Gather the necessary tools: a microfiber cleaning cloth (preferably one designed for optical equipment, as regular cloths may contain lint or abrasive fibers), a can of compressed air (with a narrow nozzle to control airflow), and a small amount of lens cleaning solution (alcohol-free, as alcohol can damage anti-reflective coatings). Avoid using household cleaners, paper towels, or tissues, as these can scratch the lens or leave residue.
Begin by removing loose dust with compressed air. Hold the can approximately 6–8 inches away from the lens and spray in short, gentle bursts. Move the nozzle in a circular motion to cover the entire lens surface, ensuring that dust is blown away from the lens rather than into crevices. This step is critical because rubbing a dusty lens can cause micro-scratches, which are irreversible.
Next, address smudges or fingerprints. Fold the microfiber cloth into a small, firm pad to avoid using the same dirty area repeatedly. Apply a single drop of lens cleaning solution to the cloth (never directly to the lens, as excess liquid can seep into the lens housing and damage internal components). Gently wipe the lens in a circular motion, starting from the center and moving outward. Apply minimal pressure—let the cloth and solution do the work. For stubborn smudges, repeat the process with a fresh area of the cloth, but avoid scrubbing, as this can wear down the anti-reflective coating.
After cleaning, inspect the lens under good lighting to check for any remaining smudges or scratches. If the lens is still dirty, repeat the process, but avoid over-cleaning, as this can also damage the lens. Additionally, it is important to maintain a clean environment around the projector to reduce the frequency of lens cleaning. Keep the projector away from dusty areas, open windows, and air vents, and use a projector cover when the device is not in use to protect the lens from dust and debris.
By following these proper cleaning methods, you can ensure that your projector lens remains in optimal condition, delivering sharp, vibrant images for years to come. Regular maintenance not only improves image quality but also extends the lifespan of the projector, making it a worthwhile investment of time and effort.
Read recommendations:
HI Gift Customization - HI Series Projector
Contrast Ratio of Projector Screens
1080P Projector for Outdoor Movie: Bring the Cinema to Your Backyard


 Reviewed: