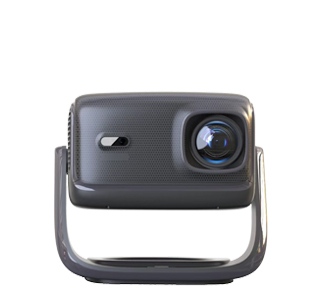
Replacing the bulb in a projector is a task that users may need to perform periodically as the bulb reaches the end of its lifespan. This process requires careful handling to avoid damaging the projector or the new bulb and to ensure optimal performance after the replacement.
Before starting the bulb replacement, it's crucial to turn off the projector and unplug it from the power source. Allow the projector to cool down completely, as the bulb can be extremely hot immediately after use, and touching it while hot can cause burns and damage to the bulb. The cooling time can vary depending on the projector model but usually takes around 30 minutes to an hour.
Once the projector is cool, locate the bulb access panel. This panel is typically located on the top or side of the projector and is secured with screws or clips. Use the appropriate screwdriver or tool to remove the screws or release the clips and open the access panel. Inside, you'll see the old bulb, which is usually held in place by a bracket or a locking mechanism.
To remove the old bulb, carefully release the locking mechanism according to the projector's user manual. Some bulbs may have a handle or tab that you can grasp to pull the bulb out gently. Avoid touching the glass part of the bulb with your bare hands, as the oils from your skin can cause hot spots on the bulb, reducing its lifespan. If you accidentally touch the bulb, clean it with a soft, lint - free cloth and isopropyl alcohol.
After removing the old bulb, take the new bulb out of its packaging. Make sure the new bulb is compatible with your projector model, as different projectors require specific types of bulbs. Insert the new bulb into the socket, aligning it properly and ensuring that it clicks into place or is securely fastened by the locking mechanism. Close the bulb access panel and secure it with the screws or clips.
Finally, plug the projector back into the power source and turn it on. Some projectors may require you to reset the bulb timer in the projector's menu settings so that it can accurately track the lifespan of the new bulb. After the replacement, monitor the projector's performance to ensure that the new bulb is functioning properly and that the image quality is restored. If there are any issues, refer to the user manual or contact the manufacturer's support for further assistance.
Read recommendations:
HW30 Home Cinema - HW Series Projector
How Does a Projector Perform When Playing PPTs?
3000 CVIA Lumens 1080P Projector with Android TV




 Reviewed:


