Return to News Center
Installation of Projector Screens
 Reviewed:0
Release time:2025-09-04
source:About Us
Reviewed:0
Release time:2025-09-04
source:About Us
Guide:
The installation of a projector screen is a crucial step that can significantly impact the viewing experience and the overall functionality of the screen. Proper installation ensures that the screen is securely mounted, properly aligned, and ready for optimal image projection.The first step in insta

The installation of a projector screen is a crucial step that can significantly impact the viewing experience and the overall functionality of the screen. Proper installation ensures that the screen is securely mounted, properly aligned, and ready for optimal image projection.
The first step in installing a projector screen is to choose the right location. For fixed - frame screens, it's important to select a flat and sturdy wall that can support the weight of the screen and frame. The wall should also be free from any obstructions, such as windows, doors, or furniture, that could interfere with the viewing angle or the projection of the image. For motorized or manual pull - down screens, the ceiling or wall above the desired viewing area is the typical installation location. The height of the screen should be determined based on the seating arrangement and the viewer's eye level to ensure comfortable viewing.
Once the location is selected, the next step is to prepare the installation surface. For wall - mounted screens, it's necessary to ensure that the wall is clean, smooth, and free from any debris. If the wall is made of drywall, it may be necessary to use wall anchors or toggle bolts to provide additional support and prevent the screen from falling. For ceiling - mounted screens, the ceiling structure should be able to support the weight of the screen and its mounting hardware.
The actual installation process varies depending on the type of projector screen. Fixed - frame screens usually come with a set of brackets and hardware for mounting. The brackets are first attached to the wall or ceiling according to the provided instructions, and then the screen is carefully placed onto the brackets and secured in place. Motorized screens require the installation of the motor unit, which is typically mounted on the ceiling or wall. The screen fabric is then attached to the motor unit, and the control wires are connected to the power source and the control device, such as a remote control or a wall - mounted switch. Manual pull - down screens are installed by attaching the screen casing to the ceiling or wall and then extending the screen using the pull - down mechanism or crank.
After the screen is mounted, it's essential to align the screen properly. This involves ensuring that the screen is perfectly horizontal and vertical, and that the image projected onto the screen is centered and free from any distortion. Most projectors have built - in alignment tools or keystone correction features that can be used to adjust the image if necessary. Additionally, the distance between the projector and the screen should be set according to the projector's throw ratio to achieve the desired image size and quality.
Finally, it's important to test the screen and make any necessary adjustments. This includes turning on the projector and checking the image quality, color accuracy, and brightness. If the screen is motorized, test the deployment and retraction functions to ensure they are working properly. By following these steps carefully, users can ensure a successful installation of their projector screen and enjoy a high - quality viewing experience.
Read recommendations:
HN30B Portable - HN Series Projector
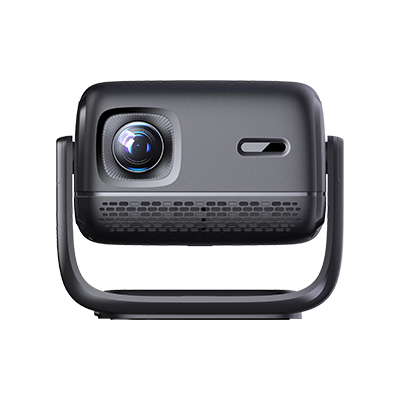
Projectors with Smooth and User-Friendly Operating Systems
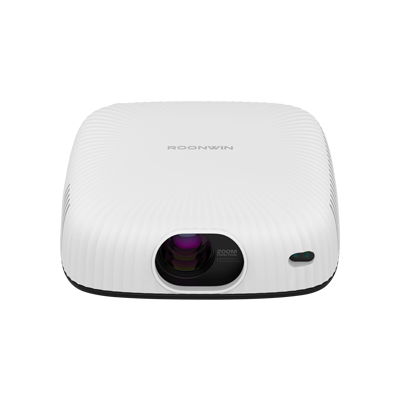
600 ANSI Lumens 16G Projector Supporting 4K Decoding