Installing a projector in the bedroom is an ideal way to create a private home theater, and the whole process is simple as long as you follow standard steps. First of all, complete the early preparation and position selection. The bedroom has limited space, so you need to confirm the projection distance first. Measure the distance between the placement position and the wall or curtain, and select a suitable projection size, generally 80 to 100 inches for bedrooms. It is recommended to choose the wall facing the bed as the projection area, and avoid positions blocked by wardrobes, lamps or curtains. Prepare necessary tools in advance, including a projector, power cord, mounting bracket, screws, level ruler and wire trough for hiding lines.
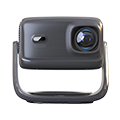
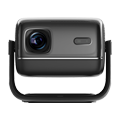
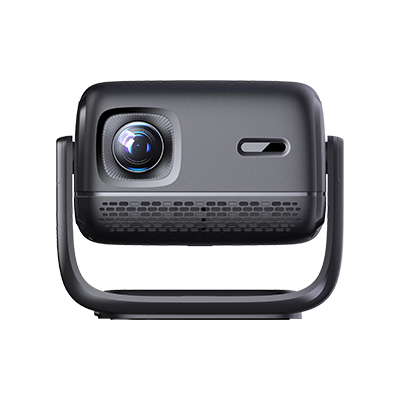
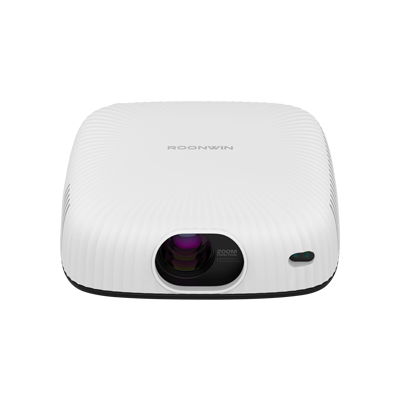
The second step is to choose installation ways and fix the device. There are two common installation methods: desktop placement and ceiling mounting. Desktop placement is the easiest for beginners. Put the projector on a stable bedside cabinet or dedicated shelf, adjust the height to make the lens align with the center of the wall. If you want to save floor space, choose ceiling mounting. Drill holes on the ceiling according to the bracket size, fix the bracket firmly with expansion screws, then fasten the projector to the bracket, and use a level ruler to ensure the equipment is horizontal to prevent distorted pictures.
Next is line arrangement and picture debugging. Organize all power cords and signal cords neatly, use wire troughs to hide exposed wires, which keeps the bedroom tidy and avoids potential safety hazards caused by messy lines. Turn on the projector after powering on, first adjust the focus knob to make the picture clear. Then correct the trapezoidal distortion. Most projectors have automatic or manual keystone correction functions to fix tilted and deformed images. Fine-tune the position slightly until the picture presents a complete regular rectangle.
Finally, do post-installation inspection and daily adaptation. Check whether the power connection is stable and whether the bracket is loose. Test playing videos to verify the definition, sound and remote control sensitivity. In the bedroom, it is better to turn off strong top lights when using the projector to get a better viewing effect. Do not place the projector close to the bed or soft bedding to ensure good heat dissipation. After all debugging is completed, the bedroom projector can be used normally.
Read recommendations:
HW30 Home Cinema - HW Series Projector
How to Enable the Eye - Protection Mode of a Projector
Projector Mobile Compatibility


 Reviewed: