Installing a projector in a conference room requires a systematic plan that covers site survey, equipment selection, installation steps, cable management, and debugging to ensure stable operation and optimal viewing experience. The following is a detailed installation plan suitable for most conference room scenarios.
Step 1: Site Survey and Demand Analysis
Before installation, conduct a comprehensive survey of the conference room to collect key information:
Room Size and Layout: Measure the length, width, and height of the conference room, determine the position of the projection screen (usually on the front wall opposite the audience seats), and confirm the distance between the screen and the planned projector installation position (projection distance). For example, if the conference room is 8 meters long and 5 meters wide, and the screen is installed on the front wall (3 meters wide), the projection distance can be set to 4-6 meters (depending on the projector’s throw ratio) to match a 100-120 inch screen.
Ambient Light Conditions: Check the number of windows, the presence of curtains, and the brightness of indoor lights. If the conference room has large windows with strong natural light, it is recommended to install blackout curtains and choose a high-brightness projector (3500 ANSI lumens or more) and a gain screen to reduce light interference.
Power and Cable Routes: Locate the nearest power outlet to the projector installation position (ceiling or table) and confirm whether additional power sockets need to be installed. Plan the routes for video cables (HDMI, VGA), audio cables, and network cables (if the projector supports network control), avoiding obstacles such as air conditioners, ceiling beams, and lighting fixtures.
Step 2: Equipment Selection and Preparation
Based on the site survey results, select suitable equipment:
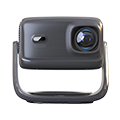
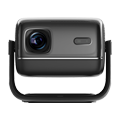
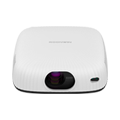
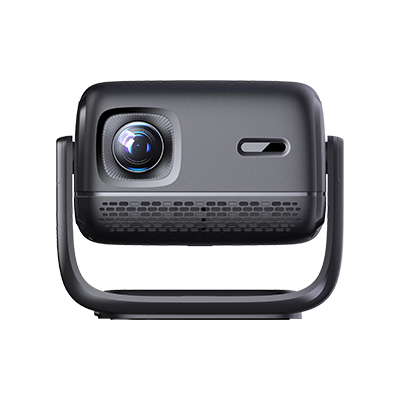
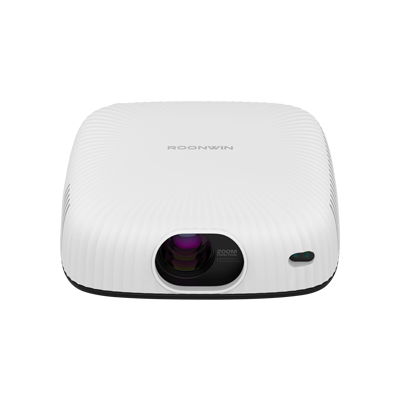
Projector: Choose a projector with appropriate brightness, resolution, and throw ratio. For medium-sized conference rooms, a 1080p (1920×1080) resolution projector with 3000-4000 ANSI lumens is recommended; for large conference rooms or lecture halls, a 4K resolution projector with 5000+ ANSI lumens may be needed. Select a throw ratio that matches the projection distance: for example, a projection distance of 5 meters and a 120-inch screen (width 2.65 meters) requires a throw ratio of 5 / 2.65 ≈ 1.88:1, so a standard-throw projector with a throw ratio of 1.8-2.5:1 is suitable.
Screen: Choose a screen with the correct aspect ratio (16:9 is standard for most conference rooms; 4:3 is suitable for displaying traditional documents) and gain. A gain of 1.0-1.5 is ideal for general conference rooms; a higher gain (2.0+) is suitable for bright environments. Ensure the screen size matches the projector’s projection range and the conference room’s viewing distance.
Installation Accessories: Prepare a ceiling mount (if ceiling-mounted), a projector bracket (if table-mounted), HDMI cables (preferably 2.0 or higher version to support 4K and high frame rates), audio cables, cable clips, cable sleeves, and a power extension cord (if needed).
Step 3: Installation and Cable Management
Screen Installation: Install the screen on the front wall or ceiling (for retractable screens) using expansion bolts. Ensure the screen is level and centered relative to the conference room’s audience area. For fixed screens, use a level to adjust the position to avoid tilting; for retractable screens, test the lifting mechanism to ensure smooth operation.
Projector Installation:
Ceiling-mounted Installation: Mark the installation position on the ceiling according to the projection distance and throw ratio (use the projector’s installation template if available). Drill holes, install the ceiling mount, and fix the projector to the mount using screws. Adjust the projector’s angle and height to align the lens with the center of the screen. Use the projector’s keystone correction function (digital or optical) to adjust the image to a regular rectangle if there is a slight tilt.
Table-mounted Installation: Place the projector on a stable table or podium behind the audience area, ensuring the projection distance matches the screen size. Use a projector stand to adjust the height and angle, and place a non-slip pad under the projector to prevent movement.
Cable Management: Run video cables (HDMI, VGA) from the projector to the conference room’s control system, computer, or video conferencing equipment. Use cable sleeves or cable clips to hide cables along the ceiling, walls, or floor to avoid tripping hazards and maintain a neat appearance. For ceiling-mounted projectors, run cables through the ceiling cavity or use a cable cover to connect to the power outlet and signal sources.
Step 4: Debugging and Testing
After installation, perform comprehensive debugging to ensure the projector works properly:
Image Adjustment: Turn on the projector and adjust the focus, zoom, and keystone correction to make the image clear, sharp, and aligned with the screen (no black edges or distortion). Adjust the brightness and contrast according to the ambient light to ensure the image is visible to all audience members.
Signal Testing: Connect the projector to different signal sources (such as a laptop, desktop computer, or video conferencing device) using HDMI or VGA cables to test whether the video signal is transmitted normally. Check for issues such as screen flickering, color distortion, or delayed transmission, and replace cables or adjust the signal source settings if necessary.
Audio Testing: If the projector is connected to external speakers or a sound system, test the audio output to ensure the sound is clear and synchronized with the video. Adjust the volume and audio balance to ensure all audience members can hear clearly.
Stability Testing: Run the projector continuously for 1-2 hours to test its stability, checking for issues such as overheating, automatic shutdown, or abnormal noise. Ensure the power supply is stable and the projector’s cooling system works properly.
Read recommendations:
HW45 Home Cinema - HW Series Projector
Complete machine Projector OBM
1G WIFI Wireless Projector


 Reviewed: