DIY (Do - It - Yourself) projector installation can be a rewarding
experience, allowing you to customize the setup according to your specific needs
and space. While it may seem daunting at first, with the right approach and a
few basic tools, you can successfully install a projector on your own.
Before starting the installation, gather all the necessary tools and
materials. You will typically need a screwdriver set, a drill (if ceiling -
mounting), screws, anchors, a tape measure, and a ladder. Also, make sure you
have read the projector's user manual thoroughly to understand its specific
installation requirements and features.
If you are ceiling - mounting the projector, start by determining the
optimal location on the ceiling. Consider factors such as the distance from the
projection surface, the center alignment with the screen, and the accessibility
for future maintenance. Mark the mounting holes on the ceiling using a pencil
and a tape measure. Then, drill the holes and insert the anchors. Attach the
mounting bracket to the ceiling using the screws, ensuring it is firmly
secured.
For table - top or shelf installations, choose a stable surface that is at
the right height and distance from the projection surface. Place the projector
on the surface and adjust its position to center it with the screen. Once the
projector is in place, connect all the cables. Start with the power cable,
followed by the video and audio cables. If you are using a wireless connection,
follow the setup instructions provided by the projector to connect to your
devices.
After connecting the cables, power on the projector and perform the initial
setup. Use the remote control to access the menu and adjust the focus, keystone
correction, and zoom settings. Take your time to fine - tune these settings to
get the best possible image quality. You may also need to adjust the projector's
settings for different types of content, such as movies, presentations, or
games.
Throughout the DIY installation process, safety should be your top
priority. When using a ladder, make sure it is stable and on a level surface.
When working with electrical components, always unplug the devices from the
power source to avoid the risk of electric shock. With careful planning,
attention to detail, and following the proper steps, you can complete a
successful DIY projector installation and enjoy the benefits of a personalized
projection setup in your home or office.
Read recommendations:
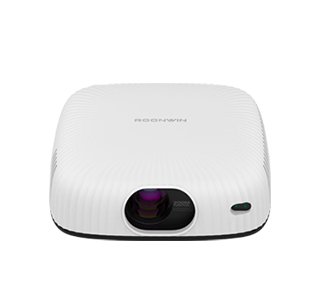
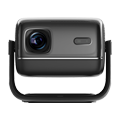
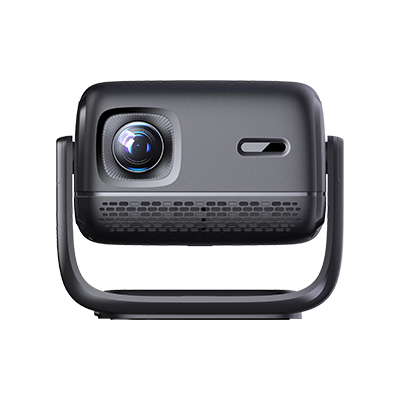
HW30 Home Cinema - HW Series Projector
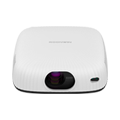
Silent Heat - Dissipating Projectors
Projector Fixed Frame Screen


 Reviewed: