Simple Projector Installation Methods
For those seeking a hassle - free projector installation, there are several
simple methods that can be easily followed. These methods focus on
straightforward steps and minimize the need for complex tools or technical
expertise.
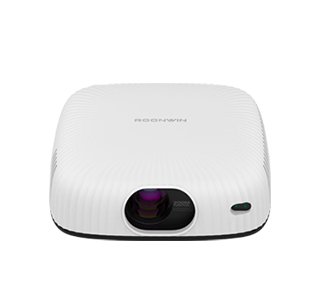
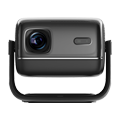
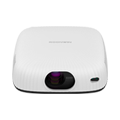
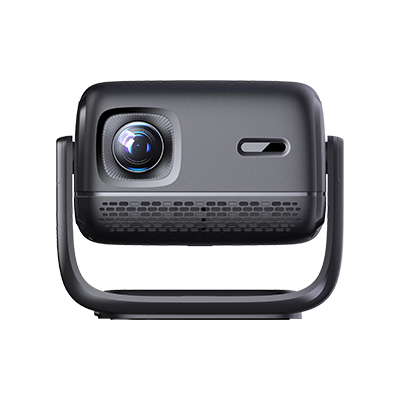
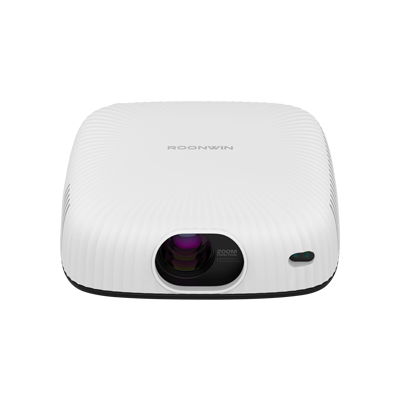
One of the simplest ways to install a projector is the table - top
installation. Start by choosing a stable and flat surface, such as a coffee
table or a desk, in front of the projection surface. Place the projector on the
surface and position it at the appropriate distance from the screen or wall,
referring to the projector's throw ratio specifications. Make sure the projector
is level to avoid any image distortion.
Next, connect the necessary cables. Begin with the power cable, plugging it
into a nearby electrical outlet. Then, connect the video source, such as a
laptop or a media player, to the projector using an HDMI cable, which is the
most common and convenient option for high - quality video and audio
transmission. If your projector supports wireless connectivity, you can skip the
cable connection and simply connect the devices wirelessly by following the
projector's setup instructions for Wi - Fi or Bluetooth pairing.
After making the connections, power on the projector and the video source.
Use the remote control that comes with the projector to access the menu and
adjust the basic settings. First, adjust the focus to make the image sharp. Most
projectors have a focus ring that can be turned manually or adjusted through the
menu. Then, check for any keystone distortion. If the projector is not perfectly
perpendicular to the projection surface, the image may appear trapezoid -
shaped. Use the keystone correction feature, either manual or automatic, to
correct the distortion and make the image rectangular.
Finally, adjust the zoom if needed to achieve the desired image size. Some
projectors have a physical zoom lens, while others offer digital zoom through
the menu. Once you have adjusted all the settings, you can start enjoying your
projected content. This simple table - top installation method is quick, easy,
and requires minimal effort, making it suitable for casual users or those who
need a temporary projector setup.
Read recommendations:
HW40 Home Cinema - HW Series Projector
Simple Projector Installation Methods
Richness of Commercial Projector Interfaces


 Reviewed: