Projector Installation Tutorial
Installing a projector properly is essential to ensure optimal performance
and a great viewing experience. The installation process involves several steps,
from choosing the right location to connecting the necessary cables and
adjusting the settings.
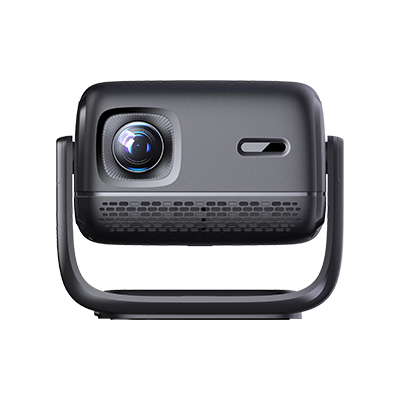
First, select an appropriate location for the projector. For ceiling -
mounted installations, ensure that the ceiling is sturdy enough to support the
weight of the projector and the mount. Measure the distance between the
projection surface (such as a screen or wall) and the desired location of the
projector to determine the correct throw distance based on the projector's
specifications. If you plan to place the projector on a table or shelf, make
sure the surface is stable and level to prevent the projector from moving or
vibrating during operation.
Next, install the projector mount. If it's a ceiling mount, use the
appropriate screws and anchors to secure the mount to the ceiling. Follow the
manufacturer's instructions carefully to ensure a safe and stable installation.
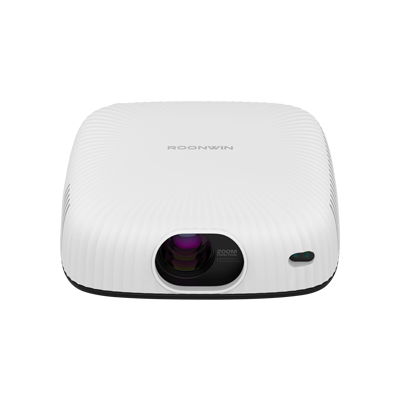
For table - top or shelf installations, simply place the projector on the
surface and adjust its position as needed. After mounting the projector, connect
the power cable to a reliable power source. Make sure the power outlet is
properly grounded to avoid electrical hazards.
Then, connect the video source to the projector. This can be a computer,
Blu - ray player, gaming console, or other devices. Use the appropriate cables,
such as HDMI, VGA, or USB, depending on the available ports on both the
projector and the video source. Some projectors also support wireless
connections, allowing you to stream content without the need for cables. Once
the cables are connected, power on the projector and the video source.
After powering on, adjust the projector settings. Use the remote control or
the buttons on the projector to access the menu and adjust settings such as
focus, keystone correction, and zoom. Focus adjusts the sharpness of the image,
while keystone correction helps to correct any distortion caused by the
projector not being perfectly perpendicular to the projection surface. Zoom
allows you to adjust the size of the projected image. Finally, test the
projector by playing some content and make any final adjustments to ensure a
clear, sharp, and properly sized image.
Read recommendations:
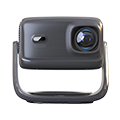
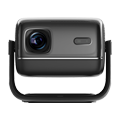
HN30B Portable - HN Series Projector
Projectors with Vivid Colors
Projector Screen with Green Color Cast Deviation


 Reviewed: