Ceiling - mounted projectors offer a clean and unobtrusive way to set up a projection system, making them a preferred choice for many home theater enthusiasts, educational institutions, and corporate meeting rooms. However, installing a projector on the ceiling requires careful planning and following specific installation methods to ensure a safe and optimal projection experience.
The first step in ceiling - mounted projector installation is to determine the ideal location. This involves considering the room layout, the position of the projection screen, and the throw distance requirements of the projector. The projector should be centered above the viewing area and aligned directly with the screen to avoid keystone distortion. Once the location is determined, mark the ceiling accordingly, ensuring that the mounting points are in a stud or use appropriate ceiling anchors if the ceiling is made of drywall.
Next, select a suitable ceiling - mount bracket. Ceiling - mount brackets come in various types, including fixed - mount, adjustable - mount, and retractable - mount brackets. Fixed - mount brackets are the simplest and most cost - effective option, but they offer limited adjustability. Adjustable - mount brackets, on the other hand, allow for vertical, horizontal, and angular adjustments, providing more flexibility in positioning the projector. Retractable - mount brackets are ideal for rooms where the projector is not in constant use, as they can be raised and lowered as needed, keeping the projector out of sight when not in use.
After choosing the bracket, it's time to install it on the ceiling. For a ceiling with studs, use long, strong screws to attach the bracket directly to the studs. If using ceiling anchors, follow the manufacturer's instructions carefully to ensure a secure installation. Once the bracket is firmly in place, attach the projector to the bracket. Most projectors have mounting holes on the bottom that align with the holes on the bracket. Use the provided screws to secure the projector to the bracket, making sure it is tightly fastened to prevent any wobbling or movement during operation.
Wiring is another crucial aspect of ceiling - mounted projector installation. Hide the cables, such as HDMI, power, and audio cables, within the ceiling or walls for a clean and clutter - free look. This may involve running the cables through conduit or using cable management systems. It's important to ensure that the cables are not pinched or damaged during the installation process, as this can affect the performance of the projector. Finally, perform a test run of the projector to check the image quality, alignment, and focus. Make any necessary adjustments to the projector's position or settings to achieve the best possible projection.
Read recommendations:
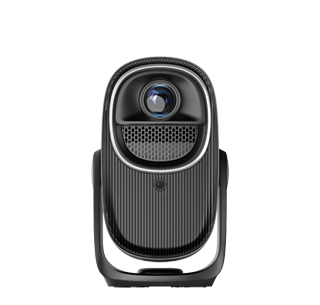
HW40 Home Cinema - HW Series Projector
Projectors with Manual Keystone Correction
Bedroom Projector Installation


 Reviewed: