Computer screen mirroring to a projector is essential for business meetings, classroom lectures, and home entertainment, as it allows you to display desktop content, videos, and software on a large screen. Both Windows and macOS computers support screen mirroring, with options for wireless and wired connections, each with its own advantages.
For wired connection, which is the most stable and recommended for professional use, connect your computer to the projector using an HDMI cable. Most modern computers have an HDMI port; if not, use an adapter (e.g., USB-C to HDMI, DisplayPort to HDMI). Once connected, press the “Windows + P” key combination on Windows to select “Duplicate” (show the same content on both screens) or “Extend” (use the projector as a second screen). On macOS, go to “System Settings” > “Displays,” click the “+” button to add the projector, and select “Mirror Displays” or “Extend Displays.”
For wireless mirroring, ensure both the computer and projector are on the same Wi-Fi. Windows users can use “Cast” from the quick settings panel, select the projector, and choose the display mode. macOS users can use AirPlay: click the AirPlay icon in the menu bar, select the projector, and enable mirroring. Wireless mirroring is convenient for environments where cables are impractical but may experience lag if the Wi-Fi signal is weak. To optimize, close background apps, reduce the computer’s resolution to match the projector’s native resolution, and ensure the projector’s firmware is up to date.
Read recommendations:
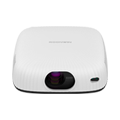
HW45 Home Cinema - HW Series Projector
LED Display Screen for Video Wall
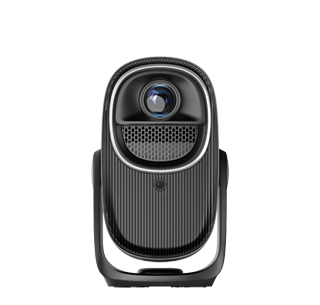
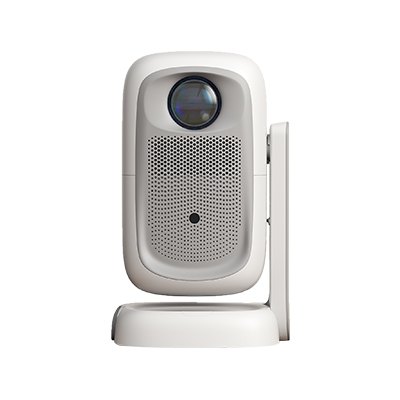
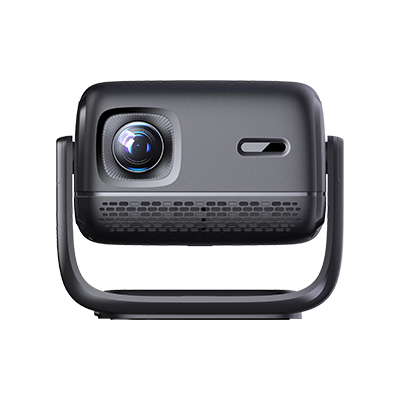
Outdoor Portable Projector


 Reviewed: